These Chocolate Coconut Bars are my go-to when I need a quick pick-me-up that takes me back to lazy summer afternoons. There’s something about the combination of rich, melty chocolate and the chewy, tropical coconut that just hits differently. They’re simple enough to throw together on a weekend, but special enough to feel like a treat you’d find in a little bakery window.
Making these bars feels like a small act of rebellion against the overly complicated desserts we often chase. It’s about reconnecting with the joy of homemade stuff—messy, honest, and a little imperfect. Every bite carries a hint of nostalgia, a reminder of carefree days and easy afternoons, even if you’re just sneaking a moment for yourself now.
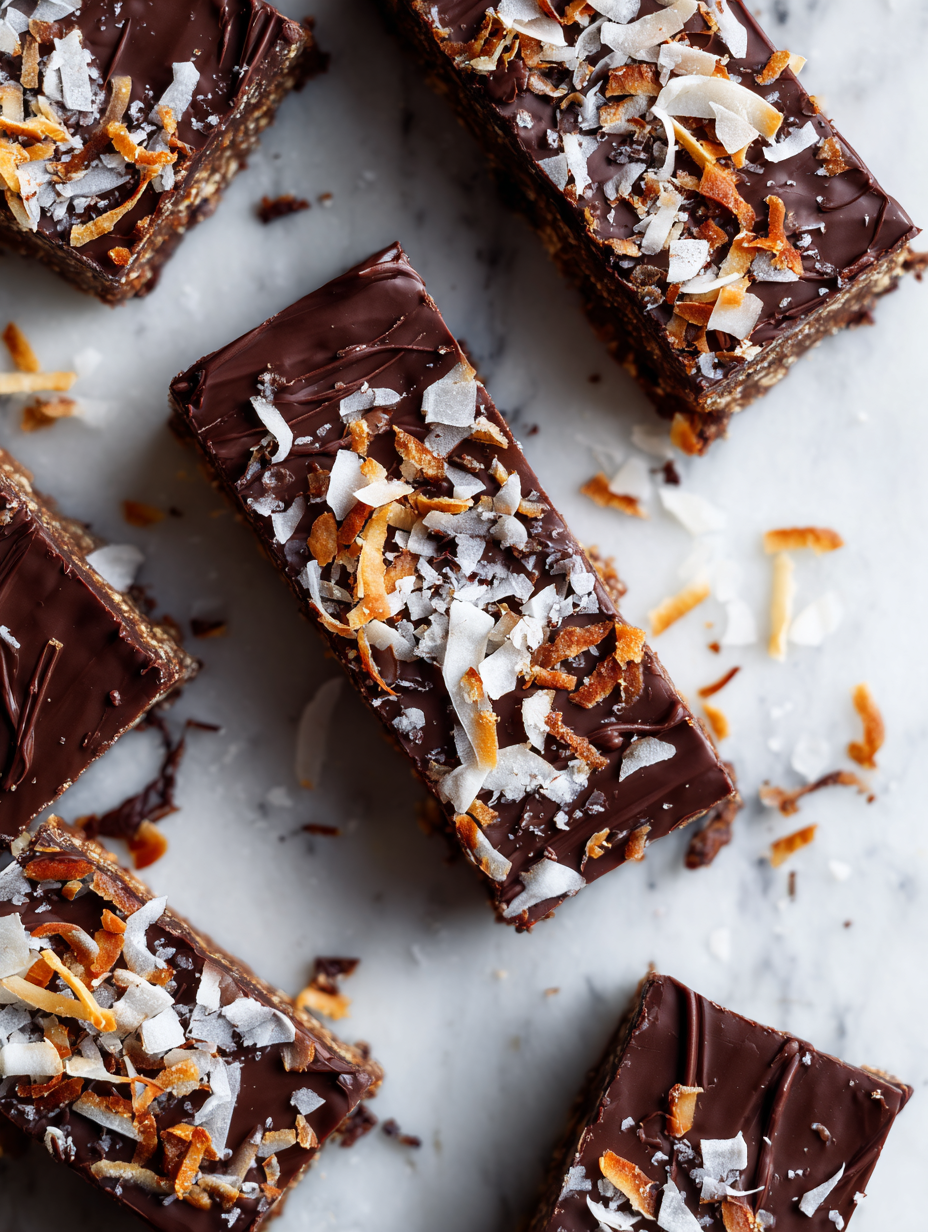
Focusing on how these bars serve as a nostalgic comfort snack, blending rich chocolate with tropical coconut, perfect for lazy afternoons or when you need a quick mood lift. It’s about reconnecting with simple, homemade treats that remind us of sunny afternoons and carefree moments, even amidst busy days.
The story behind this recipe
- This recipe was born out of a lazy Sunday afternoon craving for something both sweet and tropical. I wanted a treat that didn’t require much fuss but still packed a punch of flavor. It’s a recipe I often turn to when I need a quick, comforting snack that feels like a little escape to a sunny beach.
- I remember the first time I made these, I was chasing a fleeting moment of calm in a chaotic week. The smell of toasted coconut and melting chocolate filled the kitchen, instantly lifting my mood. Now, they’re my go-to for sharing with friends or just sneaking a little extra sweetness into my day.
- heading
- story_type
Key ingredients and tips
- Coconut flakes: I prefer toasted for an extra nutty, smoky aroma that really makes the bars pop. Feel free to use untoasted if you want a softer coconut taste.
- Dark chocolate: I love a rich, bittersweet chocolate that melts smoothly. If you want it sweeter, go for semi-sweet or even milk chocolate—just watch the sugar content.
- Sweetened condensed milk: It’s the glue that gives these bars that chewy, sticky feel. Using evaporated milk will give a less sweet, more subtle caramel note.
- Butter: I use unsalted to control the saltiness, but salted butter adds a nice contrast—just cut back on the salt in your recipe if you do.
- Vanilla extract: A splash brightens everything up. Skip it if you’re aiming for a more intense coconut or chocolate flavor, but it’s worth that little extra warmth.
- Optional add-ins: Chopped nuts or dried fruit can add texture and surprise. Toss them in with the coconut for a more complex bite.
- Baking pan: I recommend a 9-inch square for a thick, fudge-like texture. For thinner, crispier bars, go larger or use a rimmed baking sheet.
Spotlight on key ingredients
Coconut flakes:
- I prefer toasted for an extra nutty, smoky aroma that really makes the bars pop. Feel free to use untoasted if you want a softer coconut taste.
- Dark chocolate: I love a rich, bittersweet chocolate that melts smoothly. If you want it sweeter, go for semi-sweet or even milk chocolate—just watch the sugar content.
- Sweetened condensed milk: It’s the glue that gives these bars that chewy, sticky feel. Using evaporated milk will give a less sweet, more subtle caramel note.
Dark chocolate:
- Melts into a glossy, smooth layer that balances sweetness with deep cocoa flavor. It can seize if overheated, so melt slowly and stir well.
- Sweetened condensed milk: Becomes gooey and sticky when heated, helping the coconut and chocolate bind. It’s essential for that chewy, fudgy texture.
Notes for ingredient swaps
- Dairy-Free: Coconut cream can replace condensed milk for a richer, dairy-free sweetness, but expect a slightly less sticky texture.
- Vegan: Use vegan dark chocolate and coconut condensed milk—flavor stays deep, but the bars may be a tad softer.
- Nuts: Chopped almonds or walnuts add crunch; toast them first for extra flavor. Feel free to skip if nut allergies are a concern.
- Sweetener: Honey or maple syrup can substitute condensed milk—note, they’ll alter the chewiness and add a different flavor note.
- Coconut: Unsweetened shredded coconut works fine, but unsweetened will make the bars less sweet and more tropical in aroma.
- Chocolate: Semisweet or milk chocolate can swap for dark—expect a sweeter, creamier melt, but reduce sugar slightly.
- Pan size: If you don’t have a 9-inch pan, use a larger or smaller one, but watch for thinner or thicker bars—adjust chilling time accordingly.
Equipment & Tools
- 9-inch square baking pan: To set and shape the bars
- Mixing bowl: For melting chocolate and mixing ingredients
- Spatula: To spread and press the mixture evenly
- Parchment paper: To prevent sticking and for easy removal
- Microwave or double boiler: For melting chocolate smoothly
- Sharp knife: For cleanly slicing the set bars
Step-by-step guide to chocolate coconut bars
- Equip your workspace with a 9-inch square baking pan, a mixing bowl, spatula, and parchment paper. The pan is for setting the bars, the bowl for melting, and parchment for easy removal.
- Line the baking pan with parchment paper, leaving some overhang for easy lifting later. This keeps cleanup simple and prevents sticking.
- In a medium bowl, melt 1 cup of chocolate chips and 2 tablespoons of butter together. Use a double boiler or microwave in 20-second bursts, stirring until smooth. The aroma of melting chocolate should fill the air, and the mixture will be glossy.
- Stir in 1 cup of sweetened shredded coconut and 1/2 cup of condensed milk. Mix until everything is evenly coated and sticky. The coconut should look glossy and feel slightly tacky to the touch.
- Pour the mixture into the prepared pan. Use a spatula to spread it evenly, pressing down gently to compact. The surface should be smooth and slightly shiny.
- Place the pan in the fridge for 2 hours or until firm. If you notice the edges pulling away slightly, it’s a good sign they’re ready for cutting.
- Lift the set mixture from the pan using the parchment overhang. Slice into bars or squares with a sharp knife. The cut should be clean, and the bars will feel firm but not crumbly.
- Finish by melting an additional 1/4 cup chocolate and drizzling over the bars if desired. Allow the drizzle to set at room temperature or in the fridge for 10 minutes.
- Let the bars rest for at least 15 minutes before serving to allow the flavors to meld and the chocolate to firm up fully.
Chill the bars until firm, then cut into squares. Drizzle with melted chocolate if desired. Serve at room temperature for the best texture and flavor.
How to Know It’s Done
- Chocolate mixture is glossy and fully melted before mixing in coconut.
- The pressed mixture feels compact and slightly shiny after pressing into pan.
- Bars are firm and hold their shape after chilling, with clean cuts.
Chocolate Coconut Bars
Ingredients
Equipment
Method
- Line your 9-inch baking pan with parchment paper, letting the edges hang over for easy removal.
- In a microwave-safe bowl or using a double boiler, melt the dark chocolate chips with the butter, stirring until smooth and glossy. This should take about 1-2 minutes in the microwave, stopping to stir every 20 seconds.
- Stir in the shredded coconut and sweetened condensed milk, mixing until everything is evenly coated and sticky. The mixture will be glossy and slightly thick.
- Pour the mixture into the prepared pan, spreading it out evenly with a spatula. Press down gently to compact everything and create a smooth surface.
- Place the pan in the fridge and chill for about 2 hours, or until the mixture is firm and set.
- Once set, lift the mixture out of the pan using the parchment overhang. Transfer to a cutting board.
- Use a sharp knife to cut into squares or bars. For clean cuts, wipe the knife clean between slices and press down firmly.
- If desired, melt a small amount of chocolate and drizzle over the bars for a glossy finish. Let the drizzle set for a few minutes before serving.
- Serve the bars at room temperature for the best chewy, fudgy texture. Enjoy your homemade nostalgic treat!
Notes
Pro tips for perfect bars
- Use high-quality chocolate for a richer, more velvety melt that coats the tongue.
- Toast coconut flakes beforehand to deepen their nutty aroma and add a smoky layer.
- Melt chocolate gently over low heat or in short bursts in the microwave to prevent seizing.
- Press the mixture firmly into the pan to ensure clean slices and a sturdy bite.
- Chill the bars until completely firm—at least 2 hours—to prevent crumbling when cutting.
- Drizzle melted chocolate over the cooled bars for a glossy, professional-looking finish.
- For a flavor twist, sprinkle a pinch of sea salt on top before chilling—sweet and salty perfection.
Common mistakes and how to fix them
- FORGOT to adjust oven temperature → Keep an eye on the bars, they brown quickly.
- DUMPED in too much coconut → Measure carefully to avoid overwhelming the chocolate flavor.
- OVER-TORCHED the chocolate → Melt slowly and stir constantly to prevent burning and bitterness.
- MISSED the chilling step → Chill thoroughly for clean cuts and firm texture.
Quick fixes for common issues
- When mixture is too sticky → Splash in a bit more melted chocolate to loosen.
- If bars crack when slicing → Patch with a drizzle of warm chocolate on top.
- Over-baked edges → Shield with foil and extend chilling time for a softer center.
- DUMPED in too many coconut flakes → Rescue with a splash of condensed milk for better binding.
- When chocolate seizes during melting → Rescue by stirring in a teaspoon of vegetable oil until smooth.
Prep, store, and reheat tips
- Prepare and press the mixture into the pan a day ahead; it firms up better and saves time on serving day.
- Store the bars in an airtight container at room temperature for up to 3 days; they stay chewy and flavorful.
- For longer storage, freeze the bars wrapped tightly for up to 2 weeks; thaw at room temperature before serving.
- Reheat slightly in the microwave for 10-15 seconds if you prefer a softer, melt-in-your-mouth texture—watch for the chocolate to shimmer and soften.
- The coconut and chocolate flavors deepen overnight, becoming more integrated and intensifying the tropical-chocolate aroma.
Top questions about chocolate coconut bars
1. Can I use fresh coconut instead of shredded?
Use shredded coconut that’s toasted for a richer, smoky flavor or untoasted for a softer, milder taste. Feel free to experiment with different textures.
2. What if I only have milk chocolate?
Yes, swapping dark chocolate for milk or semi-sweet chocolate will make the bars sweeter and creamier, but reduce the sugar slightly in the recipe.
3. Can I make these dairy-free?
You can substitute coconut condensed milk with regular condensed milk or even coconut cream for a dairy-free version, but the texture and sweetness will vary.
4. How long do I need to chill the bars?
Chill the bars until they’re firm, about 2 hours in the fridge. They should be shiny on top and hold their shape when cut.
5. How do I get neat cuts?
Use a sharp knife and press down firmly to get clean slices. Warming the knife slightly can help cut through sticky mixtures more smoothly.
6. My melted chocolate seized—what do I do?
If the chocolate seizes or becomes grainy, stir in a teaspoon of vegetable oil or a splash of warm milk to smooth it out.
7. Should I toast the coconut flakes?
Toast the coconut beforehand to deepen its aroma, or skip to keep it softer. Toasting gives a smoky, nutty flavor that elevates the bars.
8. How should I store leftovers?
Store the bars in an airtight container at room temperature for up to 3 days or freeze for longer. Reheat briefly if you prefer softer texture.
9. The mixture is too sticky—what now?
If mixture is too sticky to spread, melt a bit more chocolate and stir it in. This loosens the mixture and makes spreading easier.
10. How do I get a nice chocolate drizzle?
When drizzling melted chocolate on top, do it while the bars are still slightly warm for better adherence and shine.
These bars are more than just a sweet treat; they’re a little window into lazy, sunny afternoons and carefree moments. Making them is about capturing that nostalgic feeling, a simple pleasure that’s easy to share or keep for yourself. Sometimes, it’s the small, homemade comforts that matter most, especially when life feels busy or a bit chaotic.
In the end, this recipe is about reconnecting with a classic, honest flavor combo—rich chocolate and tropical coconut—that never really goes out of style. I find myself reaching for these whenever I need a quick pick-me-up or a small reminder to slow down and enjoy the simple things. They’re a reminder that good, homemade food can be straightforward and satisfying, even on the busiest days.

Hi, I’m Benjamin Reynolds, the creator behind Strategically Seasoning. I started this blog because I believe great cooking is not random. It is thoughtful. It is intentional. It is built step by step with purpose. Seasoning is not something you sprinkle at the end and hope for the best. It is a strategy.

