As the air turns crisp and pumpkins carve their spooky grins, I love digging into treats that bring a little magic—and a dash of chaos—to the Halloween table. These Witch Finger Cookies aren’t just creepy—they tell a story with every flaky, almond-kissed bite, rooted in childhood memories of ghostly gatherings and backyard tricks. This year, I’m adding a twist: a secret ingredient that makes each finger irresistibly flaky and freakishly realistic.
Making these creepy cookies feels like performing miniature culinary magic, transforming simple ingredients into sinister-looking fingers that seem to whisper tales of witches and spells. Their delicate, buttery crunch sparks a satisfying contrast with the chewy almond nails. Perfect for that moment when friends gather around, eyes wide with horror and delight.
WHY I LOVE THIS RECIPE?
- The chaos of shaping these little fingers adds a playful, spooky twist to baking.
- Their flaky texture is deeply satisfying, like a crisp autumn leaf under your teeth.
- Making them sparks nostalgic memories of childhood Halloweens—candy and costume chaos.
- Perfect for creating a fun, slightly creepy centerpiece that sparks giggles and gasps.
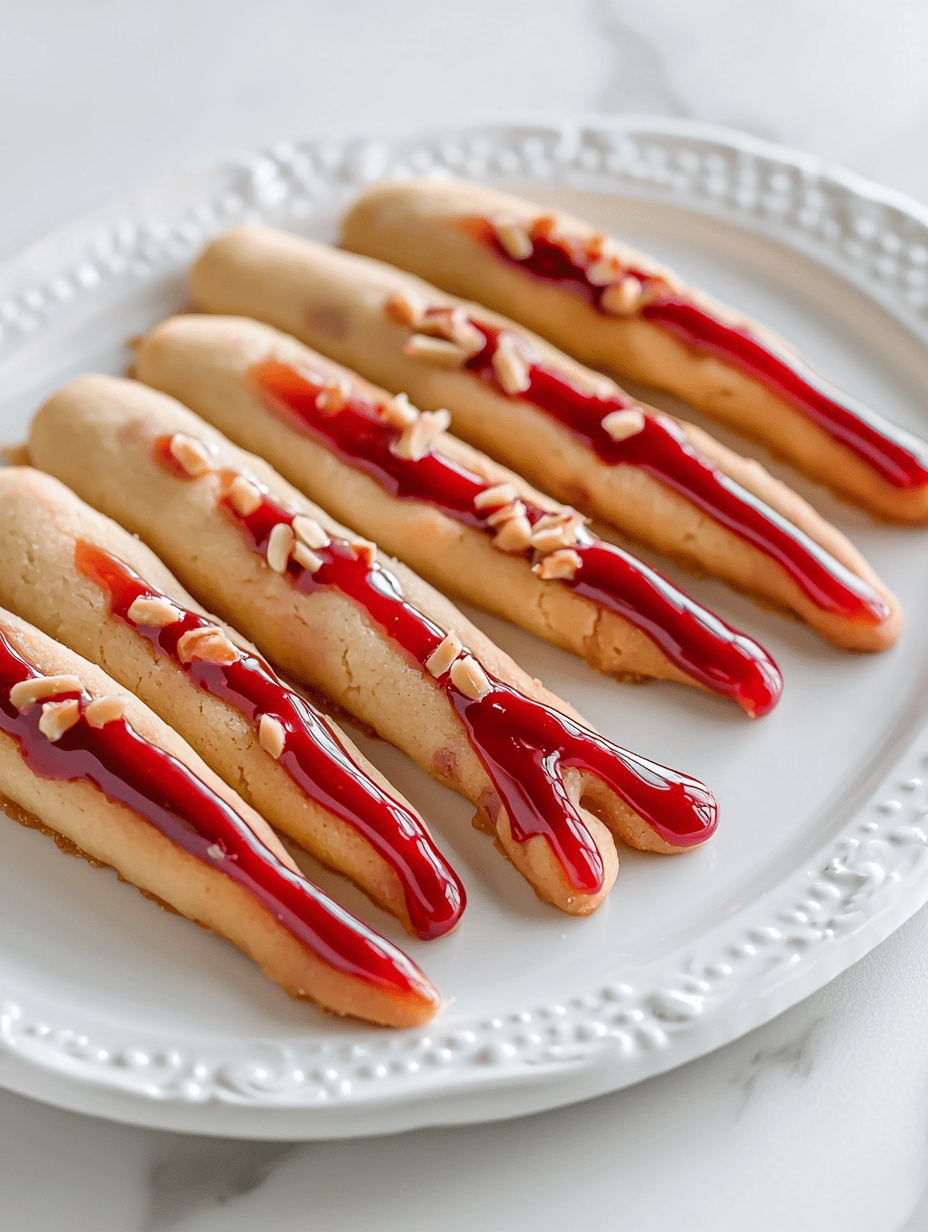
- I love how they look—it’s the kind of edible art that surprises everyone.
AVOID MY DISASTER (You’re Welcome)
- FORGOT to chill the dough—fingers spread out in the oven; pop it back in the fridge before baking.
- DUMPED too much food coloring—turn the fingers bright neon, not scary; stick with natural hues.
- OVER-TORCHED the tips—burned nails look gruesome; keep a close watch and bake in short bursts.
- SKIPPED the almond nails—lost that perfect creepy detail; add a slivered almond for realism.
QUICK FIXES THAT SAVE YOUR DAY
- WHEN dough is too soft, splash in cold milk to firm it up instantly.
- PATCH cracked fingers with extra dough and reshape with a toothpick.
- SHIELD your fingers with foil if they brown too fast—keep the crunch just right.
- IF nails fall off during baking, gently press new almond slices onto the baked cookie.
- Smell the cookies just before they’re done—if buttery notes are sweet and nutty, they’re perfect.
These Witch Finger Cookies aren’t just treats—they’re a spooky tradition in the making. With a little chaos in the kitchen, you can craft something eerily delightful that makes the season stand out. They’re weird enough to turn heads and simple enough to whip up in no time.
Enjoy biting into the flaky, nutty, eerily realistic fingers that wow guests and spark plenty of giggles. Nothing beats the thrill of creating edible monsters that flicker between spooky and sweet—perfect for this haunting season.
Witch Finger Cookies
Ingredients
Equipment
Method
- In a large mixing bowl, beat together the softened butter and sugar until creamy and pale, and the mixture is fluffy, about 2-3 minutes.
- Add the egg and vanilla extract to the bowl, and beat until fully incorporated. The dough will become smooth and slightly glossy.
- In a separate bowl, whisk together the flour, baking powder, and salt to evenly distribute the dry ingredients.
- Gradually add the dry mixture to the wet ingredients, mixing on low speed or folding until a soft, shaggy dough forms. The dough should come together easily without being sticky.
- Wrap the dough in plastic wrap and chill it in the refrigerator for at least 30 minutes to relax the gluten and make it easier to shape.
- Preheat your oven to 350°F (175°C) and line a baking sheet with parchment paper or a silicone baking mat.
- Remove the dough from the refrigerator and divide it into 12 equal portions. Roll each portion into a thin, elongated finger shape, tapering the ends to resemble a creepy fingernail.
- Place the shaped fingers onto the prepared baking sheet flat-side down, leaving space between each for spreading slightly.
- Gently press a slivered almond onto one end of each finger to mimic a creepy, pointed nail. Use the tip of a knife or toothpick to create tiny cracks or veins for added realism if desired.
- Bake in the preheated oven for 12-15 minutes, until they are golden brown around the edges and the nails look slightly crisp. Keep an ear out for a gentle crunch sound as they bake.
- Allow the cookies to cool slightly on the baking sheet for 5 minutes, then transfer them to a wire rack to cool completely to maintain their flaky texture.
- Once cooled, melt the white chocolate chips and lightly brush or drizzle over the fingers for a glossy, eerie finish. Dust lightly with powdered sugar to mimic ash and add a spooky effect. Serve and enjoy these creepy, flaky treats!
Notes
As the night winds down, these cookies linger in the air with the warm scent of butter and almonds. They remind us that some of the best Halloween memories come from the little things—like biting into a creepy, flaky finger or sharing a startled laugh over a spooky treat.
In the end, it’s about embracing the fun chaos of the season—crafting, giggling, and making edible art that shines on ghostly nights. These Witch Finger Cookies are just the beginning of your Halloween kitchen adventures, full of surprises and sweet scares to come.

Hi, I’m Benjamin Reynolds, the creator behind Strategically Seasoning. I started this blog because I believe great cooking is not random. It is thoughtful. It is intentional. It is built step by step with purpose. Seasoning is not something you sprinkle at the end and hope for the best. It is a strategy.

