There’s something about peanut butter cookies that feels both nostalgic and indulgent, like a little hug from your childhood. I’ve always loved how the edges turn just crispy enough while the center stays soft and chewy—perfect for tearing apart with a glass of cold milk on a lazy afternoon.
This recipe is my go-to for those moments when I crave a cookie that’s simple but deeply satisfying. I’ve tweaked it over the years, trying to strike that ideal balance of richness from the peanut butter and a touch of sweetness that doesn’t overpower. It’s honest, a little messy, and totally worth the effort.
Baking these cookies feels like a small act of rebellion—no fancy ingredients, just straightforward comfort in each bite. They remind me of lazy weekends, the smell of peanut butter melting into warm dough wafting through the kitchen, making everything feel just right.
Focusing on how to perfect the chewy, gooey center with crispy edges, just like my favorite bakery’s version, but made entirely at home.
The story behind this recipe
Making these peanut butter cookies started as a quest to recreate a treat my grandmother used to make. Her version was always a little rustic, with a crispy edge and a soft, gooey center that melted in your mouth. Over the years, I’ve tinkered with her simple recipe, trying to get that perfect crunch without losing the chewy heart. It’s funny how a small handful of ingredients can hold so many memories—baking them always takes me back to lazy Sunday afternoons at her kitchen table, the smell of roasted peanuts lingering in the air. Now, whenever I bake these, it feels like I’m sharing a piece of that quiet, sweet nostalgia with whoever’s lucky enough to get a warm cookie from the tray.
Key ingredients and tips
- Creamy peanut butter: I prefer the natural, runny kind that oozes when you stir—gives a richer flavor. If you want more chew, try crunchy peanut butter, but watch out for added salt.
- Granulated sugar: The classic sweetener, it crisps up nicely during baking. For a less sweet cookie, cut the sugar by a tablespoon—still delicious with a toasty edge.
- Egg: I always use large eggs, at room temperature, to help everything bind smoothly. If you’re out, a flax egg can work, but the texture might be a tad denser.
- Flour: All-purpose is my go-to, but if you want softer cookies, swap half for bread flour. For gluten-free, almond flour adds a nutty punch, but expect a slightly denser bite.
- Baking soda: Just a pinch helps with rise and spreading. If you forget it, the cookies might be flatter and crisper—still tasty, just different.
- Vanilla extract: A splash brightens everything up—makes the peanut flavor pop. Skip it if you’re feeling minimalist, but I think it’s worth the extra step.
- Salt: Just a pinch elevates the sweetness and balances the peanutty richness. If you’re reducing sugar, a little more salt can make the flavors stand out.
Spotlight on key ingredients
Flour: All-purpose is my go-to, but if you want softer cookies, swap half for bread flour. For gluten-free, almond flour adds a nutty punch, but expect a slightly denser bite.:
- Creamy peanut butter: I prefer the natural, runny kind that oozes when you stir—gives a richer flavor. If you want more chew, try crunchy peanut butter, but watch out for added salt.
- Granulated sugar: The classic sweetener, it crisps up nicely during baking. For a less sweet cookie, cut the sugar by a tablespoon—still delicious with a toasty edge.
- Egg: I always use large eggs, at room temperature, to help everything bind smoothly. If you’re out, a flax egg can work, but the texture might be a tad denser.
Notes for ingredient swaps
- Dairy-Free: Almond or soy butter can replace peanut butter. Expect a slightly different nutty flavor, but still rich.
- Sugar Alternatives: Coconut sugar or honey can be used instead of granulated sugar. They add moisture and a caramel note.
- Egg-Free: Use mashed banana or applesauce as a binder. The cookies may be softer and more delicate.
- Flour Choices: Oat flour or gluten-free blends work well. Expect a denser, more rustic texture.
- Salt Variations: Sea salt flakes instead of regular salt for a subtle crunch and burst of saltiness.
- Add-ins: Dark chocolate chips or chopped nuts can be swapped in for variety. They add crunch and melty richness.
- Flavor Enhancers: A splash of bourbon or vanilla bean paste can deepen flavor. Use sparingly to avoid overpowering the peanut.
Equipment & Tools
- Mixing bowl: To combine ingredients thoroughly.
- Spatula: For mixing and scraping dough.
- Baking sheet: To hold cookies during baking.
- Parchment paper: To prevent sticking and promote even baking.
- Fork: To flatten cookies and create pattern.
Step-by-step guide to peanut butter cookies
- Gather your equipment: a mixing bowl, a spatula, a baking sheet, parchment paper, and a fork for flattening. Preheat your oven to 180°C (350°F).
- In the mixing bowl, combine 1 cup (250g) of creamy peanut butter, 1 cup (200g) of granulated sugar, and 1 large egg. Stir until smooth and glossy, about 2 minutes. The mixture should be thick but spreadable.
- Scoop out tablespoon-sized portions of dough. Roll each into a ball and place on the prepared baking sheet, spacing about 2 inches apart. Chill the tray for 10 minutes if your dough feels too soft—this helps prevent spreading.
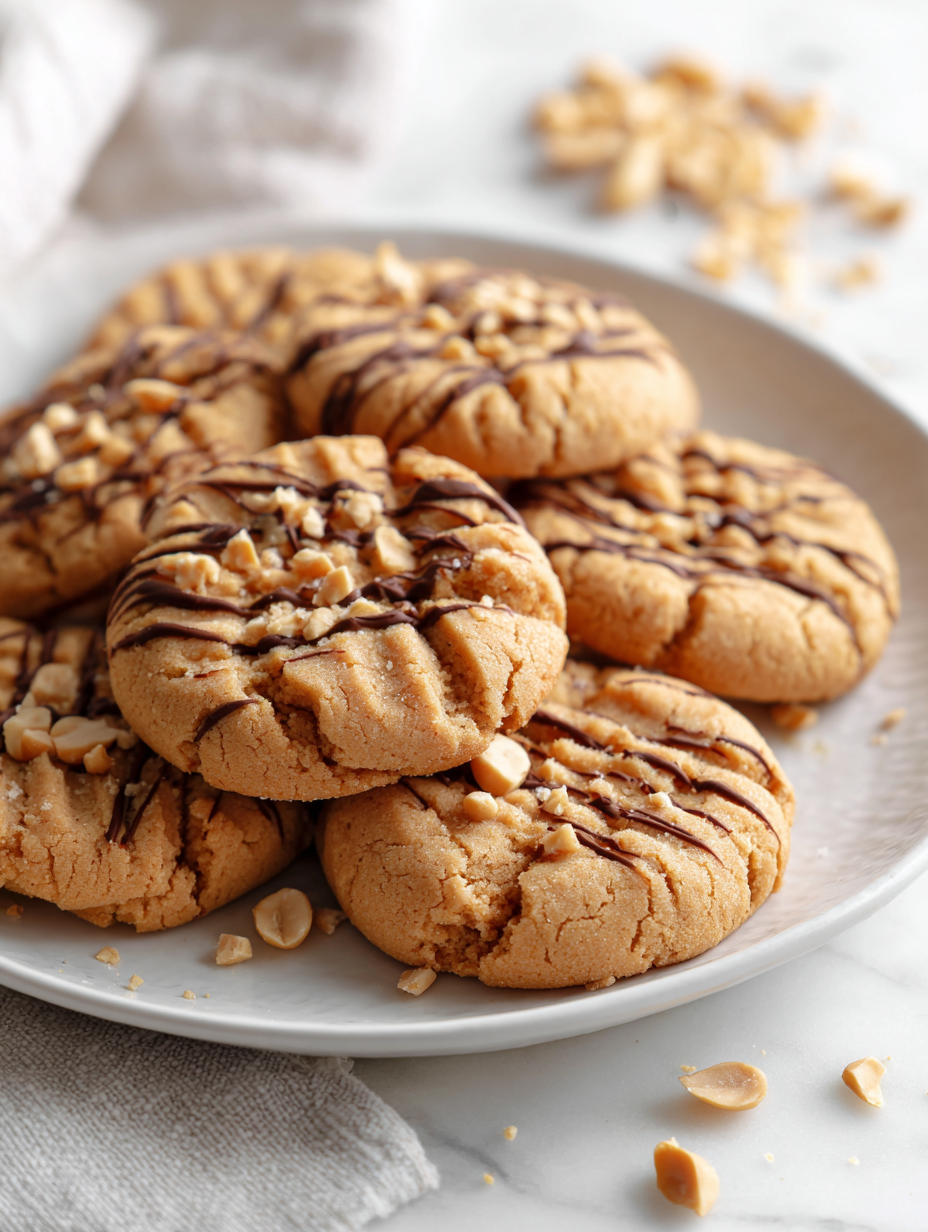
- Use a fork to gently flatten each dough ball, creating a crisscross pattern. The pressure should be firm but not crushing the cookie. This step gives the classic look and helps them bake evenly.
- Bake in the preheated oven for 10-12 minutes. Watch for the edges to turn golden brown and the centers to look set but still slightly soft—these will firm up as they cool.
- Remove the tray from the oven. Let the cookies rest on the baking sheet for 5 minutes so they set up. Then, transfer to a wire rack to cool completely, about 15 minutes. They should be chewy in the center with crispy edges.
- Once cooled, serve immediately or store in an airtight container at room temperature for up to 4 days. For longer storage, freeze for up to a month—warm slightly before serving for best texture.
Allow cookies to cool on the wire rack completely before storing or serving. This helps set the texture and prevents sticking.
How to Know It’s Done
- Edges are golden brown and cookies feel firm but slightly soft in the center when gently pressed.
- Cookies crack slightly on top, indicating proper baking and caramelization.
- When cooled, cookies should hold their shape but yield a little when bitten, with a chewy interior.
Classic Peanut Butter Cookies
Ingredients
Equipment
Method
- Preheat your oven to 180°C (350°F) and line a baking sheet with parchment paper.
- In a mixing bowl, combine the creamy peanut butter, granulated sugar, and egg. Stir vigorously with a spatula until the mixture is smooth, glossy, and well blended—about 2 minutes. The dough should feel thick but spreadable.
- Using a tablespoon or cookie scoop, portion out the dough and roll each into a ball. Place them evenly spaced on the prepared baking sheet, about 2 inches apart.
- Chill the baking sheet in the refrigerator for 10 minutes if the dough feels too soft—this helps prevent spreading during baking.
- Use a fork to gently press down each dough ball, creating a crisscross pattern. Apply firm but gentle pressure; you should hear a slight crackle as you flatten the cookies.
- Bake in the preheated oven for 10-12 minutes, until the edges are golden brown and the cookies look set but still slightly soft in the center.
- Remove the baking sheet from the oven and let the cookies rest for 5 minutes on the sheet—this allows them to firm up slightly.
- Transfer the cookies to a wire rack and cool completely for about 15 minutes. Once cooled, they will have a crispy exterior with a chewy, gooey interior.
- Enjoy your peanut butter cookies with a glass of milk or as they are—rich, rustic, and utterly satisfying.
Tips and tricks for perfect cookies
- Use chilled dough: Keeping the dough cold helps control spreading, resulting in thicker, chewier cookies.
- Flatten with a fork: Press gently but firmly to create that iconic crisscross pattern, ensuring even baking.
- Watch oven closely: Bake until edges are golden but centers are still soft—residual heat will firm them up.
- Add a sprinkle of salt: A tiny pinch on top before baking enhances the peanut flavor and balances sweetness.
- Experiment with nut butters: Crunchy peanut butter adds texture, while natural runny kinds deepen flavor—try both.
- Adjust baking time: For softer cookies, pull out a minute earlier; for crispier edges, extend slightly.
- Cool on a wire rack: Let cookies rest fully to set their chewy interior and crispy exterior without sogginess.
Common mistakes and how to fix them
- FORGOT to check oven temperature → Use an oven thermometer for accuracy.
- DUMPED too much sugar → Adjust sugar to taste for less sweetness.
- OVER-TORCHED cookies → Reduce baking time or oven heat slightly.
- MISSED chilling step → Chill dough 10 minutes to prevent spreading.
Quick fixes and pantry swaps
- When dough feels too soft → Chill for 10 minutes to firm up.
- Splash some milk if cookies crack when flattened.
- Patch cracks with a tiny dab of peanut butter before baking.
- Shield edges with foil if they over-brown too quickly.
- When out of peanut butter → Use almond butter for a different nutty aroma.
Prep, store, and reheat tips
- Dough can be prepared a day in advance; wrap tightly and refrigerate to deepen flavors and improve texture.
- Cookies store well in an airtight container at room temperature for up to 4 days, maintaining chewy centers and crispy edges.
- Freeze baked cookies for up to a month; reheat in a 150°C (300°F) oven for 5 minutes until warm and fragrant.
- For best reheating, let cookies sit at room temperature for 10 minutes before warming to preserve texture and aroma.
- Chilled or frozen dough may be slightly firmer; bring to room temperature for 10-15 minutes before baking for even spreading.
Top questions about peanut butter cookies
1. How do I know if the dough is right?
The dough should feel slightly sticky but manageable. If it’s too wet, add a bit more flour. Too dry, a splash of milk helps.
2. When are the cookies fully baked?
Cookies are done when the edges are golden and slightly crisp. The centers should look set but still soft.
3. Can I use crunchy peanut butter?
Use natural, runny peanut butter for a richer flavor. Crunchy peanut butter adds texture but may make the dough drier.
4. Can I use a different sweetener?
Yes, you can substitute coconut sugar for white sugar. It adds a caramel undertone and slightly softer texture.
5. What if the cookies spread too much?
Chill the dough for 10 minutes if it spreads too much. This helps control the shape and texture.
6. How should I store leftover cookies?
Store cookies in an airtight container at room temperature for up to 4 days. Freeze for longer storage, up to a month.
7. How do I reheat cookies?
Reheat in a 150°C (300°F) oven for 5 minutes for warm, gooey cookies. Let them cool slightly before eating.
8. Should I flatten the cookies before baking?
Use a fork to flatten the dough balls before baking. It creates that classic crisscross pattern and helps even baking.
9. How can I adjust the texture?
If cookies turn out too hard, reduce baking time by a minute. For softer cookies, bake a minute longer.
10. Can I bake these without parchment paper?
Use parchment paper to prevent sticking and promote even baking. It also makes cleanup easier.
Baking these cookies brings back memories of lazy afternoons and the comforting aroma of peanut butter melting into warm dough. They’re simple but hold a quiet magic, especially when shared with someone special or just enjoyed on your own. Sometimes, it’s the little moments in the kitchen that turn into lasting memories.
In a world that’s always rushing, these cookies remind me to slow down and savor the small joys. The crispy edges, chewy centers, and that rich peanut scent are all a gentle nudge to appreciate what’s homemade and honest. They’re not just cookies—they’re a small, sweet pause in a busy day.

Hi, I’m Benjamin Reynolds, the creator behind Strategically Seasoning. I started this blog because I believe great cooking is not random. It is thoughtful. It is intentional. It is built step by step with purpose. Seasoning is not something you sprinkle at the end and hope for the best. It is a strategy.

